



Vinyl floorings are a common and popular choice for modern homes. In addition to being an extremely technologically advanced product, vinyl floorings are also the right choice for a fast-paced life since they are extremely durable and need little maintenance.
Read more..-
Check availability


VINYL SPC WHITE OAK 5,0+1,0/0,5 MM 34 i4F
NEXTSTEP LARGE PLUS 5+1×228,6×1523 mm (2,09 m2)
-
Stock


VINYL WPC 2000 OAK LOUVRE 8,0/0,55 MM 33/42 5G CLICK
WINFLEX COMFORT 8,0x228x1830 mm (2,5034 m2)
-
Stock


VINYL WPC 2001 OAK HERMITAGE 8,0/0,55 MM 33/42 5G CLICK
WINFLEX COMFORT 8,0x228x1830 mm (2,5034 m2)
-
Stock


VINYL WPC 2002 OAK PRADO 8,0/0,55 MM 33/42 5G CLICK
WINFLEX COMFORT 8,0x228x1830 mm (2,5034 m2)
-
Check availability


VINYL WPC 2003 OAK TATE 8,0/0,55 MM 33/42 5G CLICK
WINFLEX COMFORT 8,0x228x1830 mm (2,5034 m2)
-
Stock


VINYL WPC 2004 OAK METROPOLITAN 8,0/0,55 MM 33/42 5G CLICK
WINFLEX COMFORT 8,0x228x1830 mm (2,5034 m2)
-
Stock


VINYL WPC 2005 OAK VERSAILLES 8,0/0,55 MM 33/42 5G CLICK
WINFLEX COMFORT 8,0x228x1830 mm (2,5034 m2)
-
Stock


VINYL WPC 2006 OAK BELVEDERE 8,0/0,55 MM 33/42 5G CLICK
WINFLEX COMFORT 8,0x228x1830 mm (2,5034 m2)
-
Stock


VINYL WPC 2007 OAK PERGAMON 8,0/0,55 MM 33/42 5G CLICK
WINFLEX COMFORT 8,0x228x1830 mm (2,5034 m2)
-
Stock
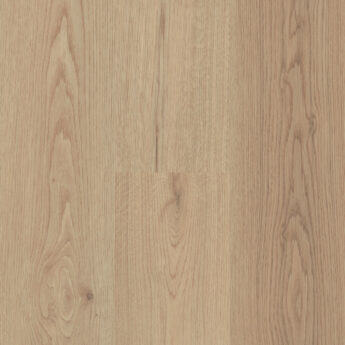
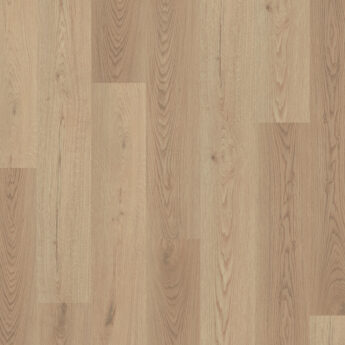
VINYL WPC 2008 OAK MONTICELLO 8,0/0,55 MM 33/42 5G CLICK
WINFLEX COMFORT 8,0x228x1830 mm (2,5034 m2)
-
Stock
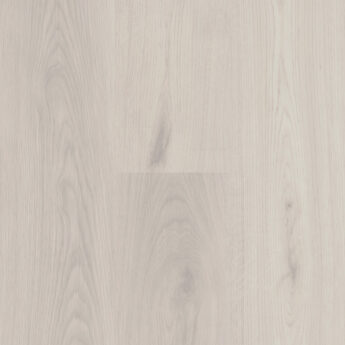

VINYL WPC 2009 OAK GUGGENHEIM 8,0/0,55 MM 33/42 5G CLICK
WINFLEX COMFORT 8,0x228x1830 mm (2,5034 m2)
-
Stock


VINYL LVT 1002 PINE CANADIAN 2,0/0,3 MM 23/31
WINFLEX HOME 2,0x152x914 mm (3,334 m2)
-
Stock
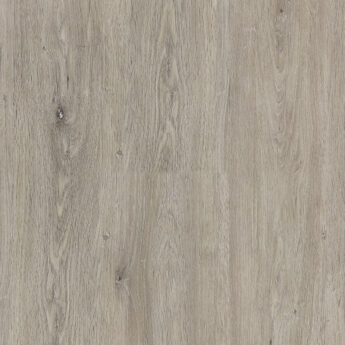
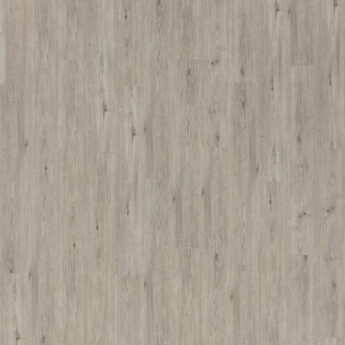
VINYL LVT 1009 OAK BURGUNDY 2,5/0,55 MM 33/42
WINFLEX PRO 2,5x187x1227 mm (2,754 m2)
-
Stock
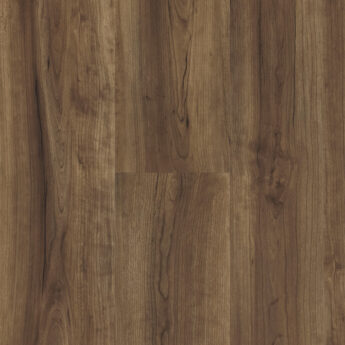
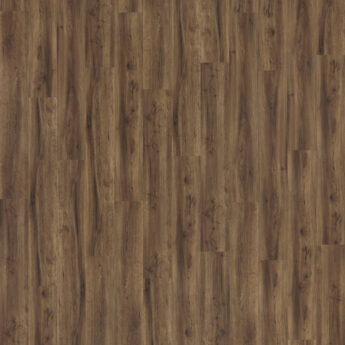
VINYL LVT 1010 WALNUT LA PAZ 2,5/0,55 MM 33/42
WINFLEX PRO 2,5x187x1227 mm (2,754 m2)
-
Stock
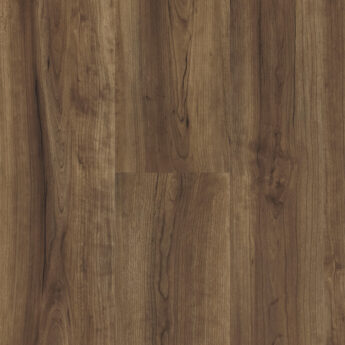
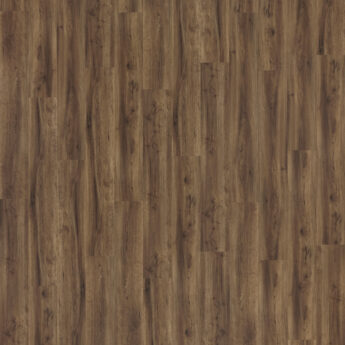
VINYL LVT 1010 WALNUT LA PAZ 4,2/0,55 MM 33/42 CLIC
WINFLEX PRO CLICK 4,2×177,8×1220 mm (1,737 m2)
-
Stock
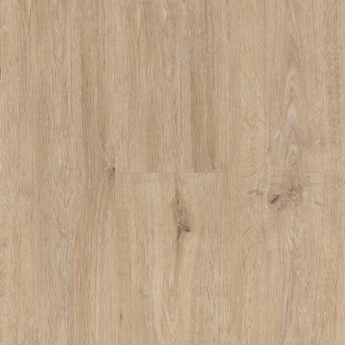
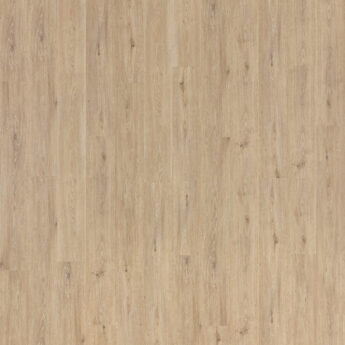
VINYL LVT 1011 OAK NEVADA 2,5/0,55 MM 33/42
WINFLEX PRO 2,5x187x1227 mm (2,754 m2)
-
Stock
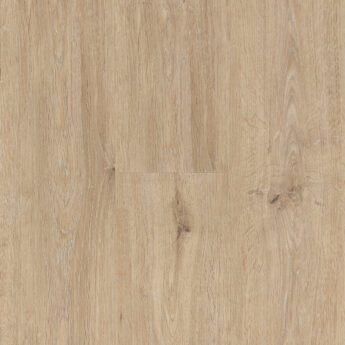
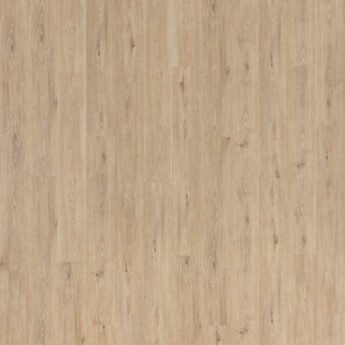
VINYL LVT 1011 OAK NEVADA 4,2/0,55 MM 33/42 CLIC
WINFLEX PRO CLICK 4,2×177,8×1220 mm (1,737 m2)
-
Stock
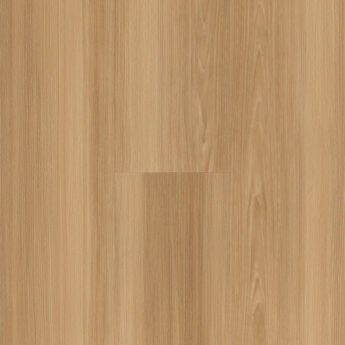
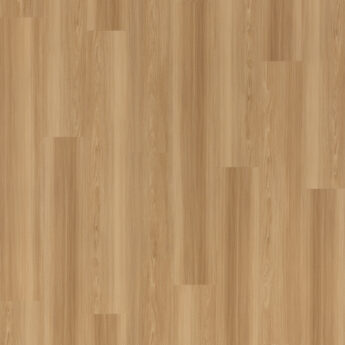
VINYL LVT 1012 OAK LOUNGE 2,5/0,55 MM 33/42
WINFLEX PRO 2,5x187x1227 mm (2,754 m2)
-
Stock


VINYL LVT 1013 OAK OLD FRENCH 4,2/0,55 MM 33/42 CLIC
WINFLEX PRO CLICK 4,2×177,8×1220 mm (1,737 m2)
-
Stock


VINYL LVT 1014 OAK WEATHERED 4,2/0,55 MM 33/42 CLIC
WINFLEX PRO CLICK 4,2×177,8×1220 mm (1,737 m2)
-
Stock


VINYL LVT 1015 OAK RENAISSANCE 4,2/0,55 MM 33/42 CLIC
WINFLEX PRO CLICK 4,2×177,8×1220 mm (1,737 m2)
-
Last packages

VINIL 101S CALERO 2,3/0,55 MM 23/33 GD
PODIUM GD 55 2,3x650x650 (3,803 m2)
-
Last packages


VINYL LVT 1020 OAK NORTHLAND 2,0/0,3 MM 23/31
WINFLEX HOME 2,0x152x914 mm (3,334 m2)
-
Stock
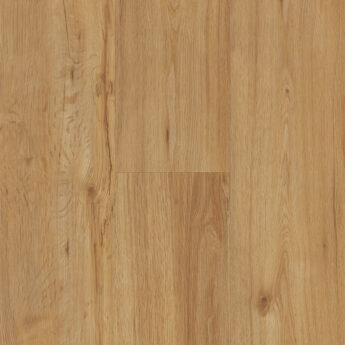
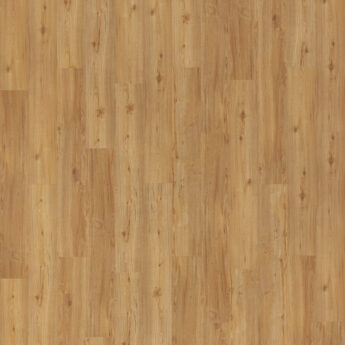
VINYL LVT 1020 OAK NORTHLAND 2,5/0,55 MM 33/42
WINFLEX PRO 2,5x187x1227 mm (2,754 m2)
-
Stock
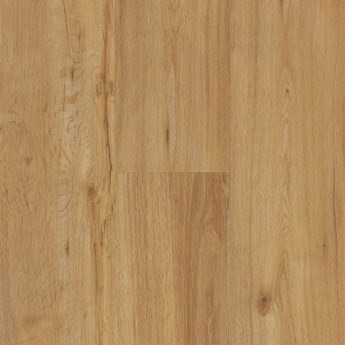
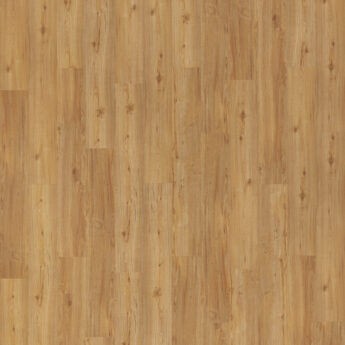
VINYL LVT 1020 OAK NORTHLAND 4,2/0,55 MM 33/42 CLIC
WINFLEX PRO CLICK 4,2×177,8×1220 mm (1,737 m2)
-
Stock


VINYL LVT 1021 OAK RUGGED 2,5/0,55 MM 33/42
WINFLEX PRO 2,5x187x1227 mm (2,754 m2)
-
Stock


VINYL LVT 1022 PINE FOREST 2,5/0,55 MM 33/42
WINFLEX PRO 2,5x187x1227 mm (2,754 m2)
-
Last packages


VINYL LVT 1025 CONCRETE 2,5/0,55 MM 33/42
WINFLEX PRO 2,5×304,8×609,6 mm (2,787 m2)
-
Last packages


VINYL LVT 1025 CONCRETE 4,2/0,55 MM 33/42 CLIC
WINFLEX PRO CLICK 4,2x305x610 mm (1,4884 m2)
-
Stock


VINYL LVT 1026 MARBLE 2,5/0,55 MM 33/42
WINFLEX PRO 2,5×304,8×609,6 mm (2,787 m2)
-
Stock


VINYL LVT 1027 ANTIQUE STONE GREY 4,2/0,55 MM 33/42 CLIC
WINFLEX PRO CLICK 4,2x305x610 mm (1,4884 m2)
-
Stock


VINYL LVT 1028 ANTIQUE STONE WHITE 4,2/0,55 MM 33/42 CLIC
WINFLEX PRO CLICK 4,2x305x610 mm (1,4884 m2)
-
Stock


VINYL LVT 1048 OAK CRAFT 4,0/0,3 MM 23/31 CLICK
WINFLEX DOMESTIC 4,0x180x1221 mm (2,637 m2)
-
Stock


VINYL LVT 1051 OAK KNOXVILLE 4,0/0,3 MM 23/31 CLICK
WINFLEX DOMESTIC 4,0x180x1221 mm (2,637 m2)
-
Last packages


VINYL LVT 1052 OAK MODENA 4,0/0,3 MM 23/31 CLICK
WINFLEX DOMESTIC 4,0x180x1221 mm (2,637 m2)
-
Stock


VINYL SPC 1059 OAK HARLECH 5,0/0,55 MM 33/42 CLICK
WINFLEX RIGID 5,0x180x1220 mm (2,196 m2)
-
Stock
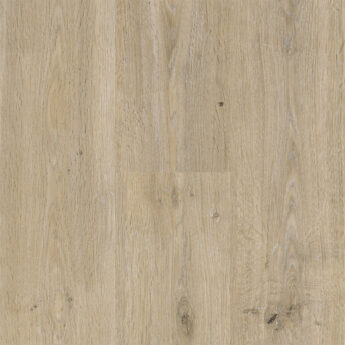
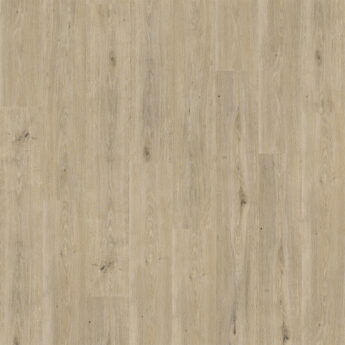
VINYL SPC 1060 OAK HAYFIELD 5,0/0,55 MM 33/42 CLICK
WINFLEX RIGID 5,0x180x1220 mm (2,196 m2)
-
Stock
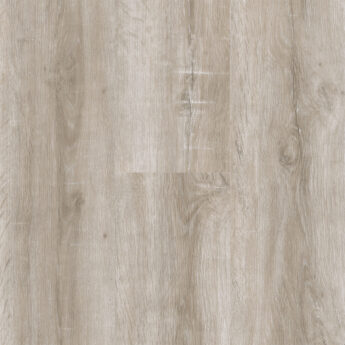

VINYL SPC 1061 OAK REYKJAVIK 5,0/0,55 MM 33/42 CLICK
WINFLEX RIGID 5,0x180x1220 mm (2,196 m2)
-
Stock
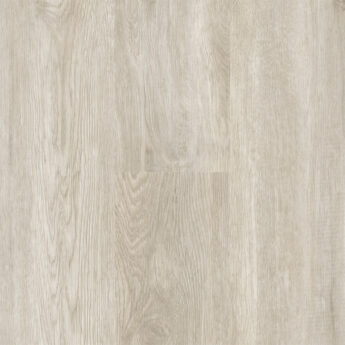
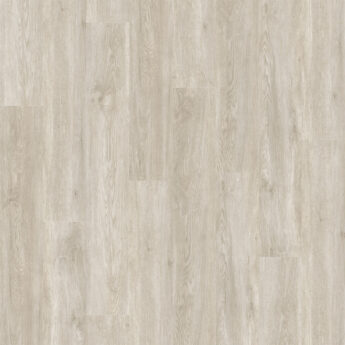
VINYL SPC 1062 OAK ATLAS 5,0/0,55 MM 33/42 CLICK
WINFLEX RIGID 5,0x180x1220 mm (2,196 m2)
-
Stock
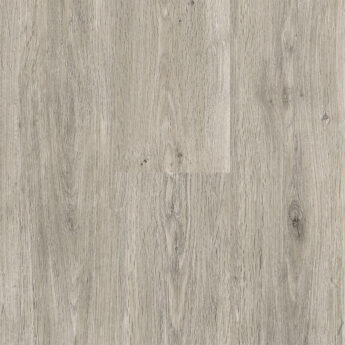
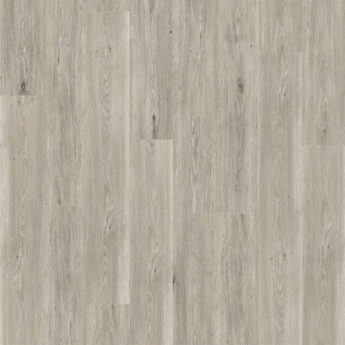
VINYL SPC 1063 OAK SAN DIEGO 5,0/0,55 MM 33/42 CLICK
WINFLEX RIGID 5,0x180x1220 mm (2,196 m2)
-
Stock


VINYL SPC 1065 OAK CALYPSO 5,0/0,55 MM 33/42 CLICK
WINFLEX RIGID 5,0x180x1220 mm (2,196 m2)
-
Stock
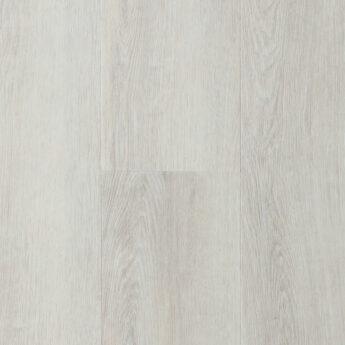
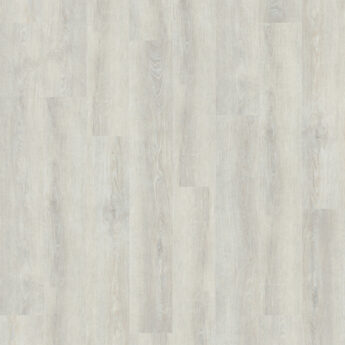
VINYL SPC 1069 OAK ST. MORITZ 6,0/0,55 MM 33/42 5Gi CLICK
WINFLEX STABILO 6,0x180x1220 mm (1,3176 m2)
-
Stock
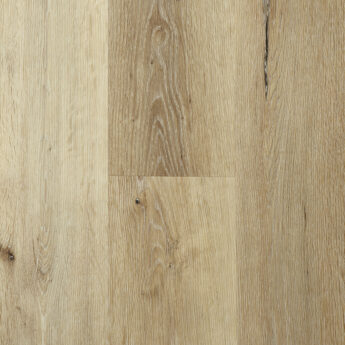
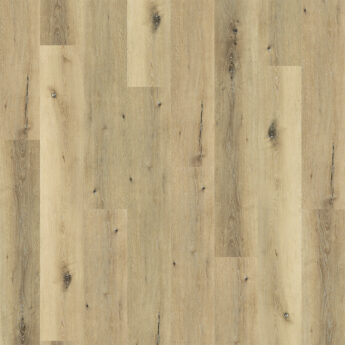
VINYL SPC 1071 OAK GOSSAMER 6,0/0,55 MM 33/42 5Gi CLICK
WINFLEX STABILO 6,0x180x1220 mm (1,3176 m2)
-
Stock
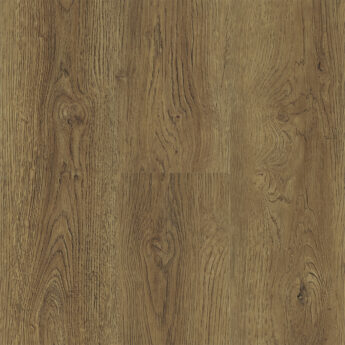
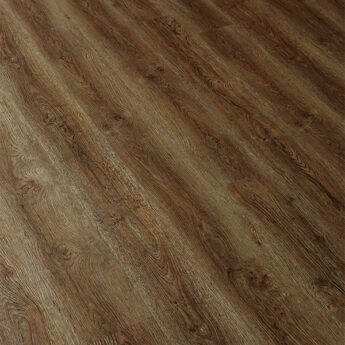
VINYL SPC 1072 OAK COTTAGE 6,0/0,55 MM 33/42 5Gi CLICK
WINFLEX STABILO 6,0x180x1220 mm (1,3176 m2)
-
Stock
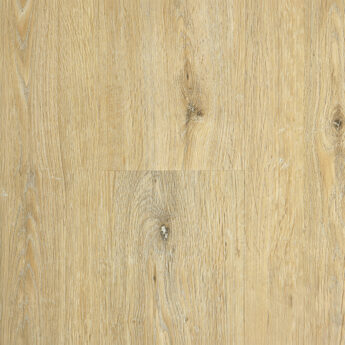
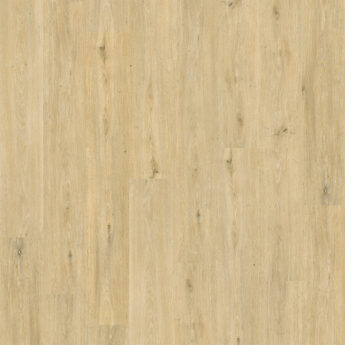
VINYL SPC 1073 OAK GREENLAND 6,0/0,55 MM 33/42 5Gi CLICK
WINFLEX STABILO 6,0x180x1220 mm (1,3176 m2)


