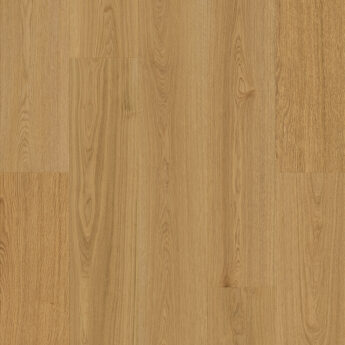
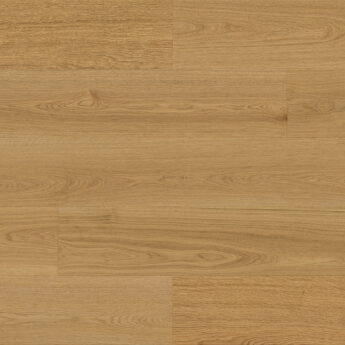
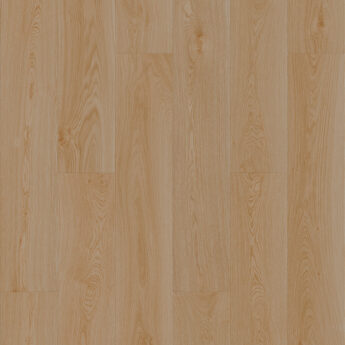
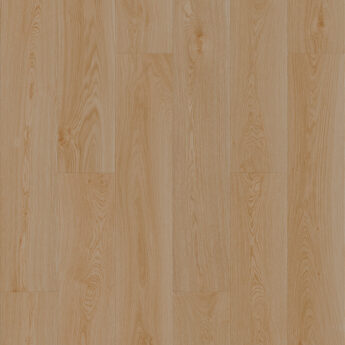
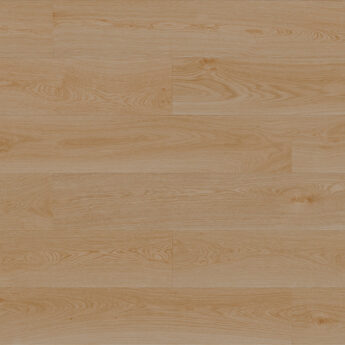
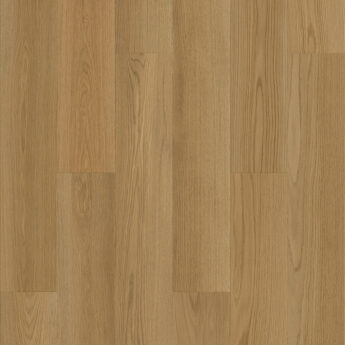
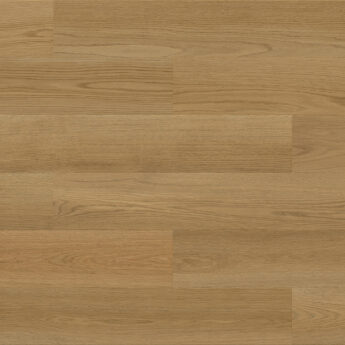
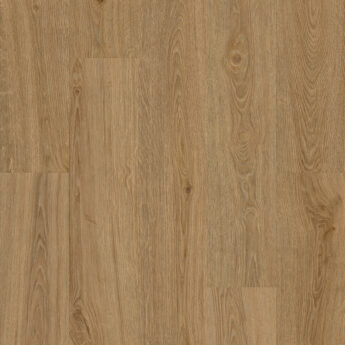
Vinyl floorings are a common and popular choice for modern homes. In addition to being an extremely technologically advanced product, vinyl floorings are also the right choice for a fast-paced life since they are extremely durable and need little maintenance.
Read more..-
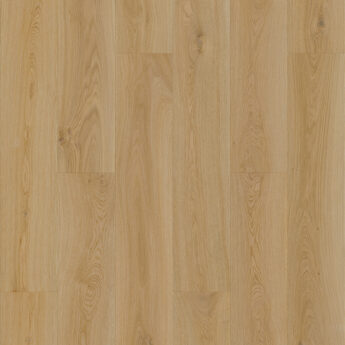
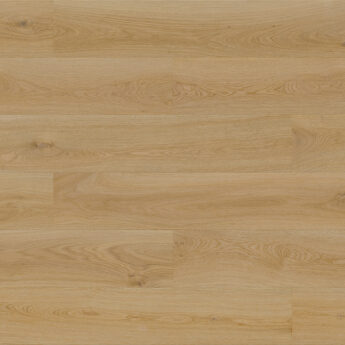
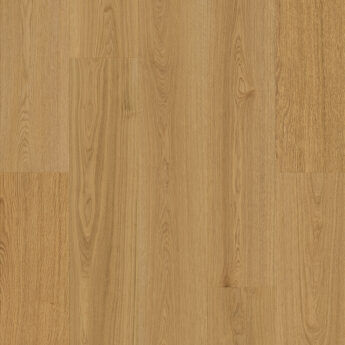
VINYL SPC 2006 OAK BELVEDERE 5,0/0,55 MM 33/42 5Gi CLICK
WINFLEX RIGID PLUS 5,0x181x1220 mm (2,2082 m2)
Add to basket -
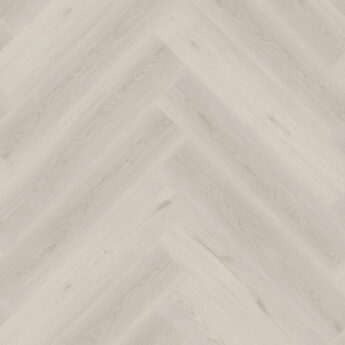
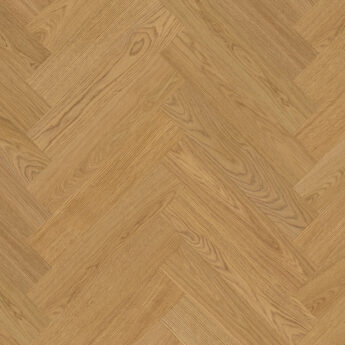
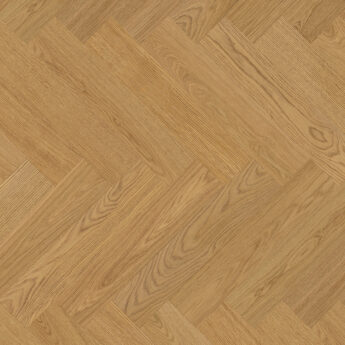
VINYL SPC 2007 OAK PERGAMON 4V 5,5/0,55 MM 33/42 5Gi
WINFLEX HERRINGBONE 5,5x127x635 mm (1,6129 m2)
Add to basket -
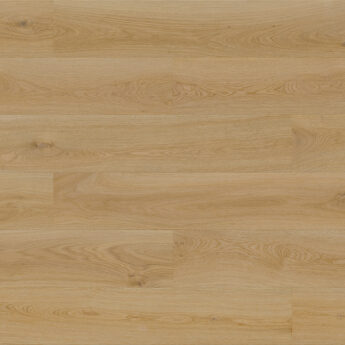
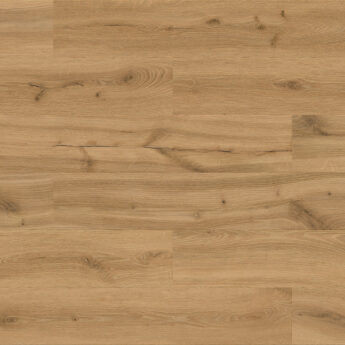
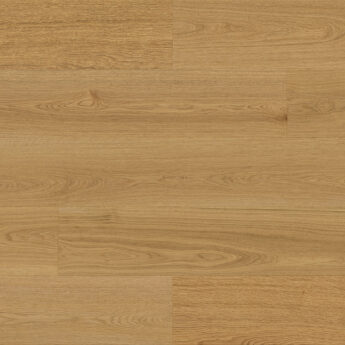
VINYL SPC 2007 OAK PERGAMON 5,0/0,55 MM 33/42 5Gi CLICK
WINFLEX RIGID PLUS 5,0x181x1220 mm (2,2082 m2)
Add to basket -
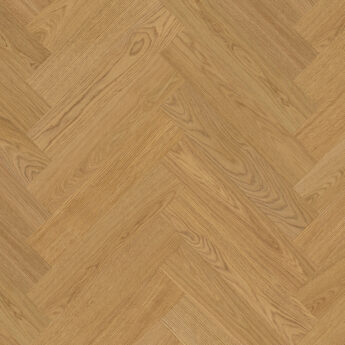
VINYL SPC 2008 OAK MONTICELLO 4V 5,5/0,55 MM 33/42 5Gi
WINFLEX HERRINGBONE 5,5x127x635 mm (1,6129 m2)
Add to basket -
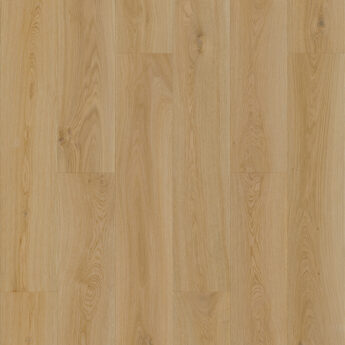
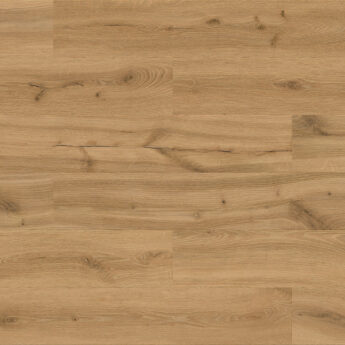
VINYL SPC 2008 OAK MONTICELLO 5,0/0,55 MM 33/42 5Gi CLICK
WINFLEX RIGID PLUS 5,0x181x1220 mm (2,2082 m2)
Add to basket -
VINYL SPC 2009 OAK GUGGENHEIM 4V 5,5/0,55 MM 33/42 5Gi
WINFLEX HERRINGBONE 5,5x127x635 mm (1,6129 m2)
Add to basket -
VINYL SPC 2009 OAK GUGGENHEIM 5,0/0,55 MM 33/42 5Gi CLICK
WINFLEX RIGID PLUS 5,0x181x1220 mm (2,2082 m2)
Add to basket -
VINYL SPC 8112 OAK ROVANIEMI 4V 6,0/0,5 MM 33/AC5 5G
AURORA HERRINGBONE 6x148x740 mm (1,752 m2)
Add to basket -
VINYL SPC 8112 ROVANIEMI OAK 4V 6,0/0,5 MM 33/AC5 5G
AURORA PLANK 6x200x1500 mm (1,800 m2)
Add to basket -
VINIL SPC ALMOND OAK 4,5/0,3 MM 34 i4F
NEXTSTEP STANDARD 4,5x198x1234 mm (2,44 m2)
Add to basket -
VINIL SPC ALMOND OAK 4,5+1,0/0,3 MM 34 i4F
NEXTSTEP STANDARD PLUS 4,5+1,0x198x1234 mm (2,20 m2)
Add to basket -
VINYL SPC AMBER OAK 4,5/0,3 MM 34 i4F
NEXTSTEP STANDARD 4,5x198x1234 mm (2,44 m2)
Add to basket -
VINYL SPC AMBER OAK 4,5+1,0/0,3 MM 34 i4F
NEXTSTEP STANDARD PLUS 4,5+1,0x198x1234 mm (2,20 m2)
Add to basket -
VINYL SPC ANTIC OAK 5,0/0,5 MM 34 HB i4F
NEXTSTEP HERRINGBONE 5×127,9×639,5 mm (1,47 m2)
Add to basket -
VINYL SPC ANTIC OAK 5,0/0,5 MM 34 i4F
NEXTSTEP LARGE 5×228,6×1523 mm (2,44 m2)
Add to basket -
VINYL SPC ANTIC OAK 5,0+1,0/0,5 MM 34 HB i4F
NEXTSTEP HERRINGBONE PLUS 5+1×127,9×639,5 mm (1,31 m2)
Add to basket -
VINYL SPC ANTIC OAK 5,0+1,0/0,5 MM 34 i4F
NEXTSTEP LARGE PLUS 5+1×228,6×1523 mm (2,09 m2)
Add to basket -
VINYL SPC APRICOT OAK 4,5/0,3 MM 34 i4F
NEXTSTEP STANDARD 4,5x198x1234 mm (2,44 m2)
Add to basket -
VINYL SPC APRICOT OAK 4,5+1,0/0,3 MM 34 i4F
NEXTSTEP STANDARD PLUS 4,5+1,0x198x1234 mm (2,20 m2)
Add to basket -
VINYL SPC ARCTIC OAK 4,5/0,3 MM 34 i4F
NEXTSTEP STANDARD 4,5x198x1234 mm (2,44 m2)
Add to basket -
VINYL SPC ARCTIC OAK 4,5+1,0/0,3 MM 34 i4F
NEXTSTEP STANDARD PLUS 4,5+1,0x198x1234 mm (2,20 m2)
Add to basket -
VINYL SPC BALSAMICO OAK 5,0/0,5 MM 34 i4F
NEXTSTEP LARGE 5×228,6×1523 mm (2,44 m2)
Add to basket -
VINYL SPC BALSAMICO OAK 5,0+1,0/0,5 MM 34 i4F
NEXTSTEP LARGE PLUS 5+1×228,6×1523 mm (2,09 m2)
Add to basket -
VINYL SPC BARLEY OAK 4,5/0,3 MM 34 i4F
NEXTSTEP STANDARD 4,5x198x1234 mm (2,44 m2)
Add to basket -
VINYL SPC BARLEY OAK 4,5+1,0/0,3 MM 34 i4F
NEXTSTEP STANDARD PLUS 4,5+1,0x198x1234 mm (2,20 m2)
Add to basket -
VINYL SPC OAK BENJAMIN 4,2+1,0 MM 33 i4F
NEXTSTEP AURA 5,2×240,1×1200 mm (2,63 m2)
Add to basket -
VINYL SPC BRASS OAK 4,5/0,3 MM 34 i4F
NEXTSTEP STANDARD 4,5x198x1234 mm (2,44 m2)
Add to basket -
VINYL SPC BRASS OAK 4,5+1,0/0,3 MM 34 i4F
NEXTSTEP STANDARD PLUS 4,5+1,0x198x1234 mm (2,20 m2)
Add to basket -
VINYL SPC OAK CAMERON 4,2+1,0 MM 33 i4F
NEXTSTEP AURA 5,2×240,1×1200 mm (2,63 m2)
Add to basket -
VINYL SPC CINNAMON OAK 5,0/0,5 MM 34 i4F
NEXTSTEP LARGE 5×228,6×1523 mm (2,44 m2)
Add to basket
Laying vinyl – a simple and quick task. Exceptional price, simplicity, unassuming care and aesthetic aspect are just some of the reasons for which vinyl floorings are the correct product for your lifestyle. You can choose between various aspects of vinyl floorings, from imitation wood to carbon copies of stone and ceramics. Vinyl care is a simple and cost-efficient process. Vinyl floorings are designed to embellish every space and represent a compact, comfortable, and beautiful flooring for your home. Choose your own vinyl and leave the laying process to our experienced experts, regardless of whether your vinyl boards can be clicked together or if you opt for classic vinyl which must be glued onto the surface. Considering the core of the board itself, they are classified as: LVT or SPC vinyl
Laying vinyl – a simple and quick task
They say every beginning is difficult. When laying vinyl boards that click together, this is simply not true. However, there are some technical issues to be mindful of when laying vinyl boards. To find out more about some key points, keep on reading. If you need more information, contact our experts who will be happy to help you.
Laying vinyl boards
In the first row sitting against the wall, you will have to remove the tongue on the longer side of the vinyl boards. Use a sharp knife and a ruler of an appropriate length for cutting. Start laying vinyl in the left corner of your room. Using the spacer, make sure that the boards are 3-5 mm away from the wall. Install a vinyl board by inserting the tongue into the groove of the board that has already been laid, under a 25° angle. Once you lay the vinyl board on the floor, the boards firmly latch onto one another due to the click system. Turn the last board in the row by 180° (with the pattern on the top side), place it next to the row that you have already laid, mark accordingly, and cut the excess (while taking into consideration the length of the offset from the wall). In this way, you can insert the board that you have previously cut into the row, and the first row is finished.
The second and subsequent rows
For aesthetic reasons, make sure that the front-end connections are at least 30 cm apart. Try to use the last cut-off piece of the previous row to begin a new row. To start laying the second row, tilt the vinyl board and push the side tongue into the side groove of the first slab under a 25° angle. The vinyl board will latch into place as you are lowering it. First, attach
the second board of the new row to the shorter end of the row that you have already laid. Continue tilting both boards (15-20°) and pressing them into
the side groove of the board from the first row. Continue laying your vinyl boards following the same principle.
The last row – completing your laying process
In order to lay the last row, set the board on top of the previous row, with the tongue turned against the wall and the decor face down. The vinyl board that you have already laid can be used as a ruler. Do not forget to leave a 3-5 mm gap for dilatation.
Cut the board and latch it into place. Doorjambs and heating pipes also need some space for dilatation. First, cut the board to a suitable length. Then, place the board next to its position, use a ruler and mark the surface that you need to cut. Cut off the marked part and leave the necessary intermediate distance on both sides.
The doorjamb can be undercut by turning the board upside down. Using a hand saw, cut the necessary height in order to have the board slide under the frame. Under the doorjamb, you must also account for appropriate dilatation. Once you’re done laying the vinyl, you can install finishing mouldings.
Replacing a damaged vinyl board
Always leave some spare vinyl boards if one of them unexpectedly has to be replaced. If you wish to replace a board, simply take a sharp knife, cut out the damaged board lengthwise and take it out. Then, take the spare board and cut off its tongue and groove on the longer side of the spare board. Leave the tongue and groove on the shorter side of the board. After that, simply latch it into place.
While all those operations can simply be performed by any individual, we also offer the service of professionally trained vinyl layers who will be able to perform the task pursuant to the installation instructions, thus enabling you to take overa product with full warranty which is applicable both for the vinyl and the laying service.