


Vinyl floorings are a common and popular choice for modern homes. In addition to being an extremely technologically advanced product, vinyl floorings are also the right choice for a fast-paced life since they are extremely durable and need little maintenance.
Read more..-
Stock

VINYL LVT 1092 STONE SLATE 2,5/0,55 MM 33/42
WINFLEX PRO 2,5x480x915 mm (4,392 m2)
-
Stock
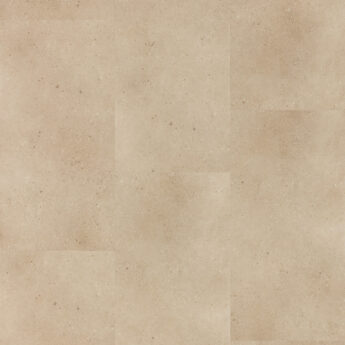
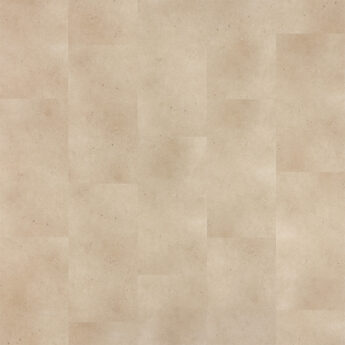
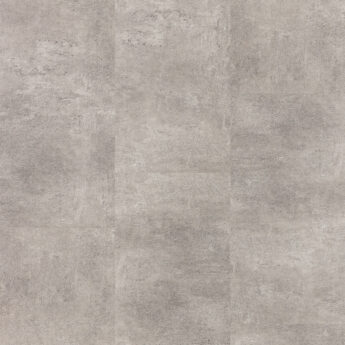
VINYL LVT 1239 CONCRETE BEIGE 2,5/0,55 MM 33/42
WINFLEX PRO 2,5x480x915 mm (4,392 m2)
-
Last packages

VINYL R018 RAINDROP 4V 4/34 R9 TOP CLIC
LOGOCLIC ELEMENT 4x192x1280 mm (2,70 m2)
-
Stock
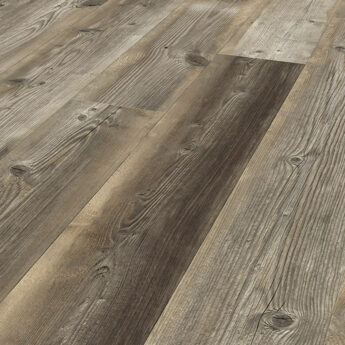
VINYL R024 ROCKY MOUNTAIN 4V 5/34 R9 TOP CLIC
FLOOREVER SPA 5x192x1280 mm (2,21 m2)
-
Stock

VINYL R033 WILD THING 4V 5/34 R9 TOP CLIC
KRONO XONIC 5x295x1280 mm (2,64 m2)
-
Stock
VINYL R034 SANDY BEACH 4V 4/34 R9 TOP CLIC
LOGOCLIC ELEMENT 4x295x1280 mm (3,40 m2)
-
Last packages

VINYL R053 SEA STAR 4V 4/34 R9 TOP CLIC
LOGOCLIC ELEMENT 4x192x1280 mm (2,70 m2)
-
Stock


VINYL SPC 1092 STONE SLATE 5,5/0,55 MM 33/42 5G CLICK
WINFLEX RIGID 5,5x457x914 mm (2,5062 m2)
-
Stock
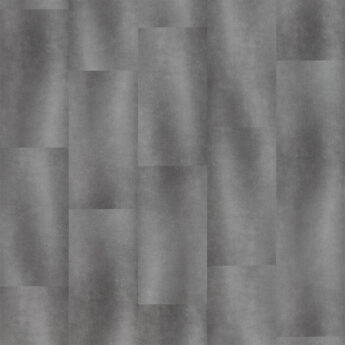
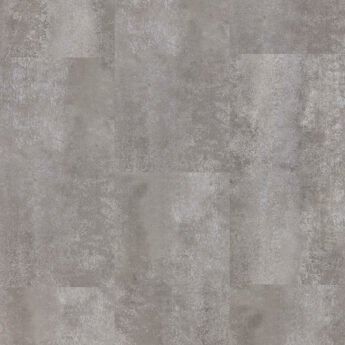
VINYL SPC 1093 STONE GRAPHITE 5,5/0,55 MM 33/42 CLICK 5G
WINFLEX RIGID 5,5x457x914 mm (2,5062 m2)
-
Stock
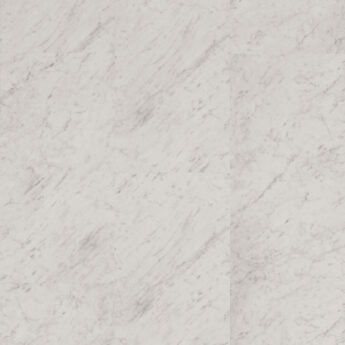
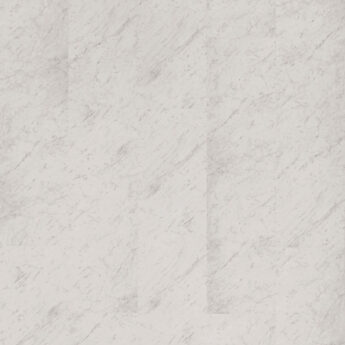
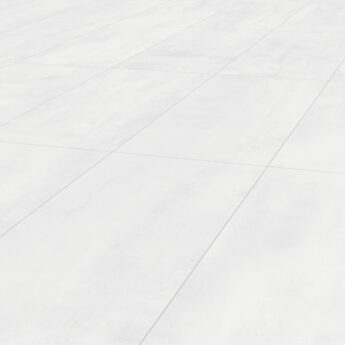
VINYL SPC 1252 MARBLE GREY 5,5/0,55 MM 33/42 CLICK 5G
WINFLEX STONE 5,5x457x914 mm (2,5062 m2)
-
Stock

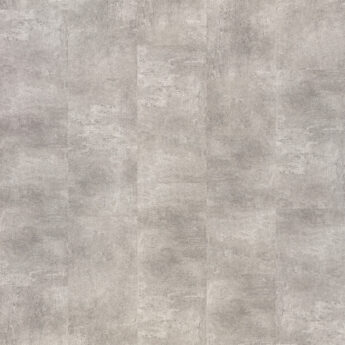
VINYL SPC 1253 CHROMIX GREY 5,5/0,55 MM 33/42 CLICK 5G
WINFLEX STONE 5,5x457x914 mm (2,5062 m2)
-
Stock
VINYL SPC 45100 MAURITIUS 4,5 MM 32/AC4 MEGALOC 4V
AQUA BLUE STANDARD BOARD 4,5x203x1290 mm (2,356 m2)
11,53 €/m2 -
Stock
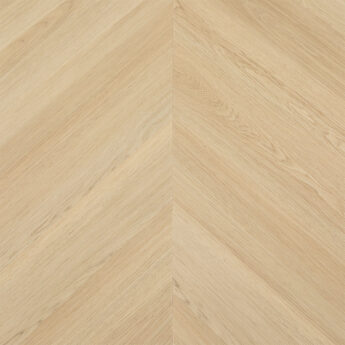
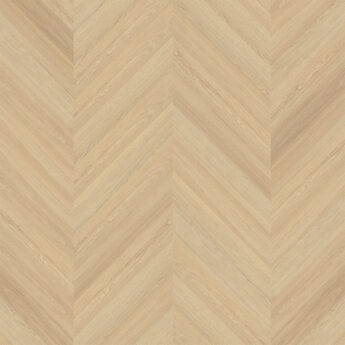
VINYL SPC 1230 OAK SAVANNAH 4V 6,0/0,55 MM 33/42 5G
WINFLEX CHEVRON 45 6,0x120x690 mm (1,1592 m2)
-
Stock
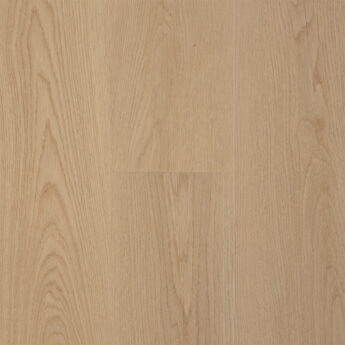
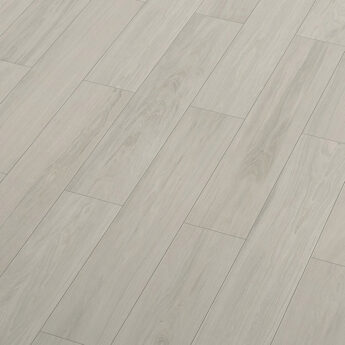
VINYL SPC 1225 OAK ARMOURY 6,0/0,55 MM 33/42 5Gi CLICK
WINFLEX STABILO 6,0x180x1220 mm (1,3176 m2)
-
Last packages


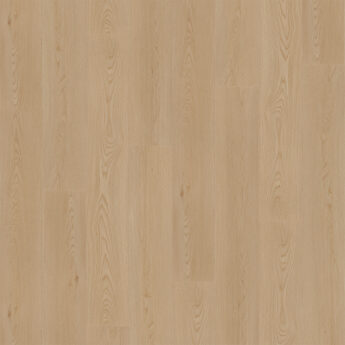
VINYL LVT 1039 OAK STRASSBOURG 4,3/0,5 MM 33/42 LOC
WINFLEX STAR 4,3x169x1210 mm (2,0449 m2)


